Getting Things Done

Over the last couple weeks I’ve been overly preoccupied (dare I say obsessed) with finishing projects. No doubt, it’s due to this focus on finishing that I been feeling disappointed in my results. I’ve decided that I should focus on what I have accomplished instead of what I have not completed. So…

I have completed three of a four rug set…Image

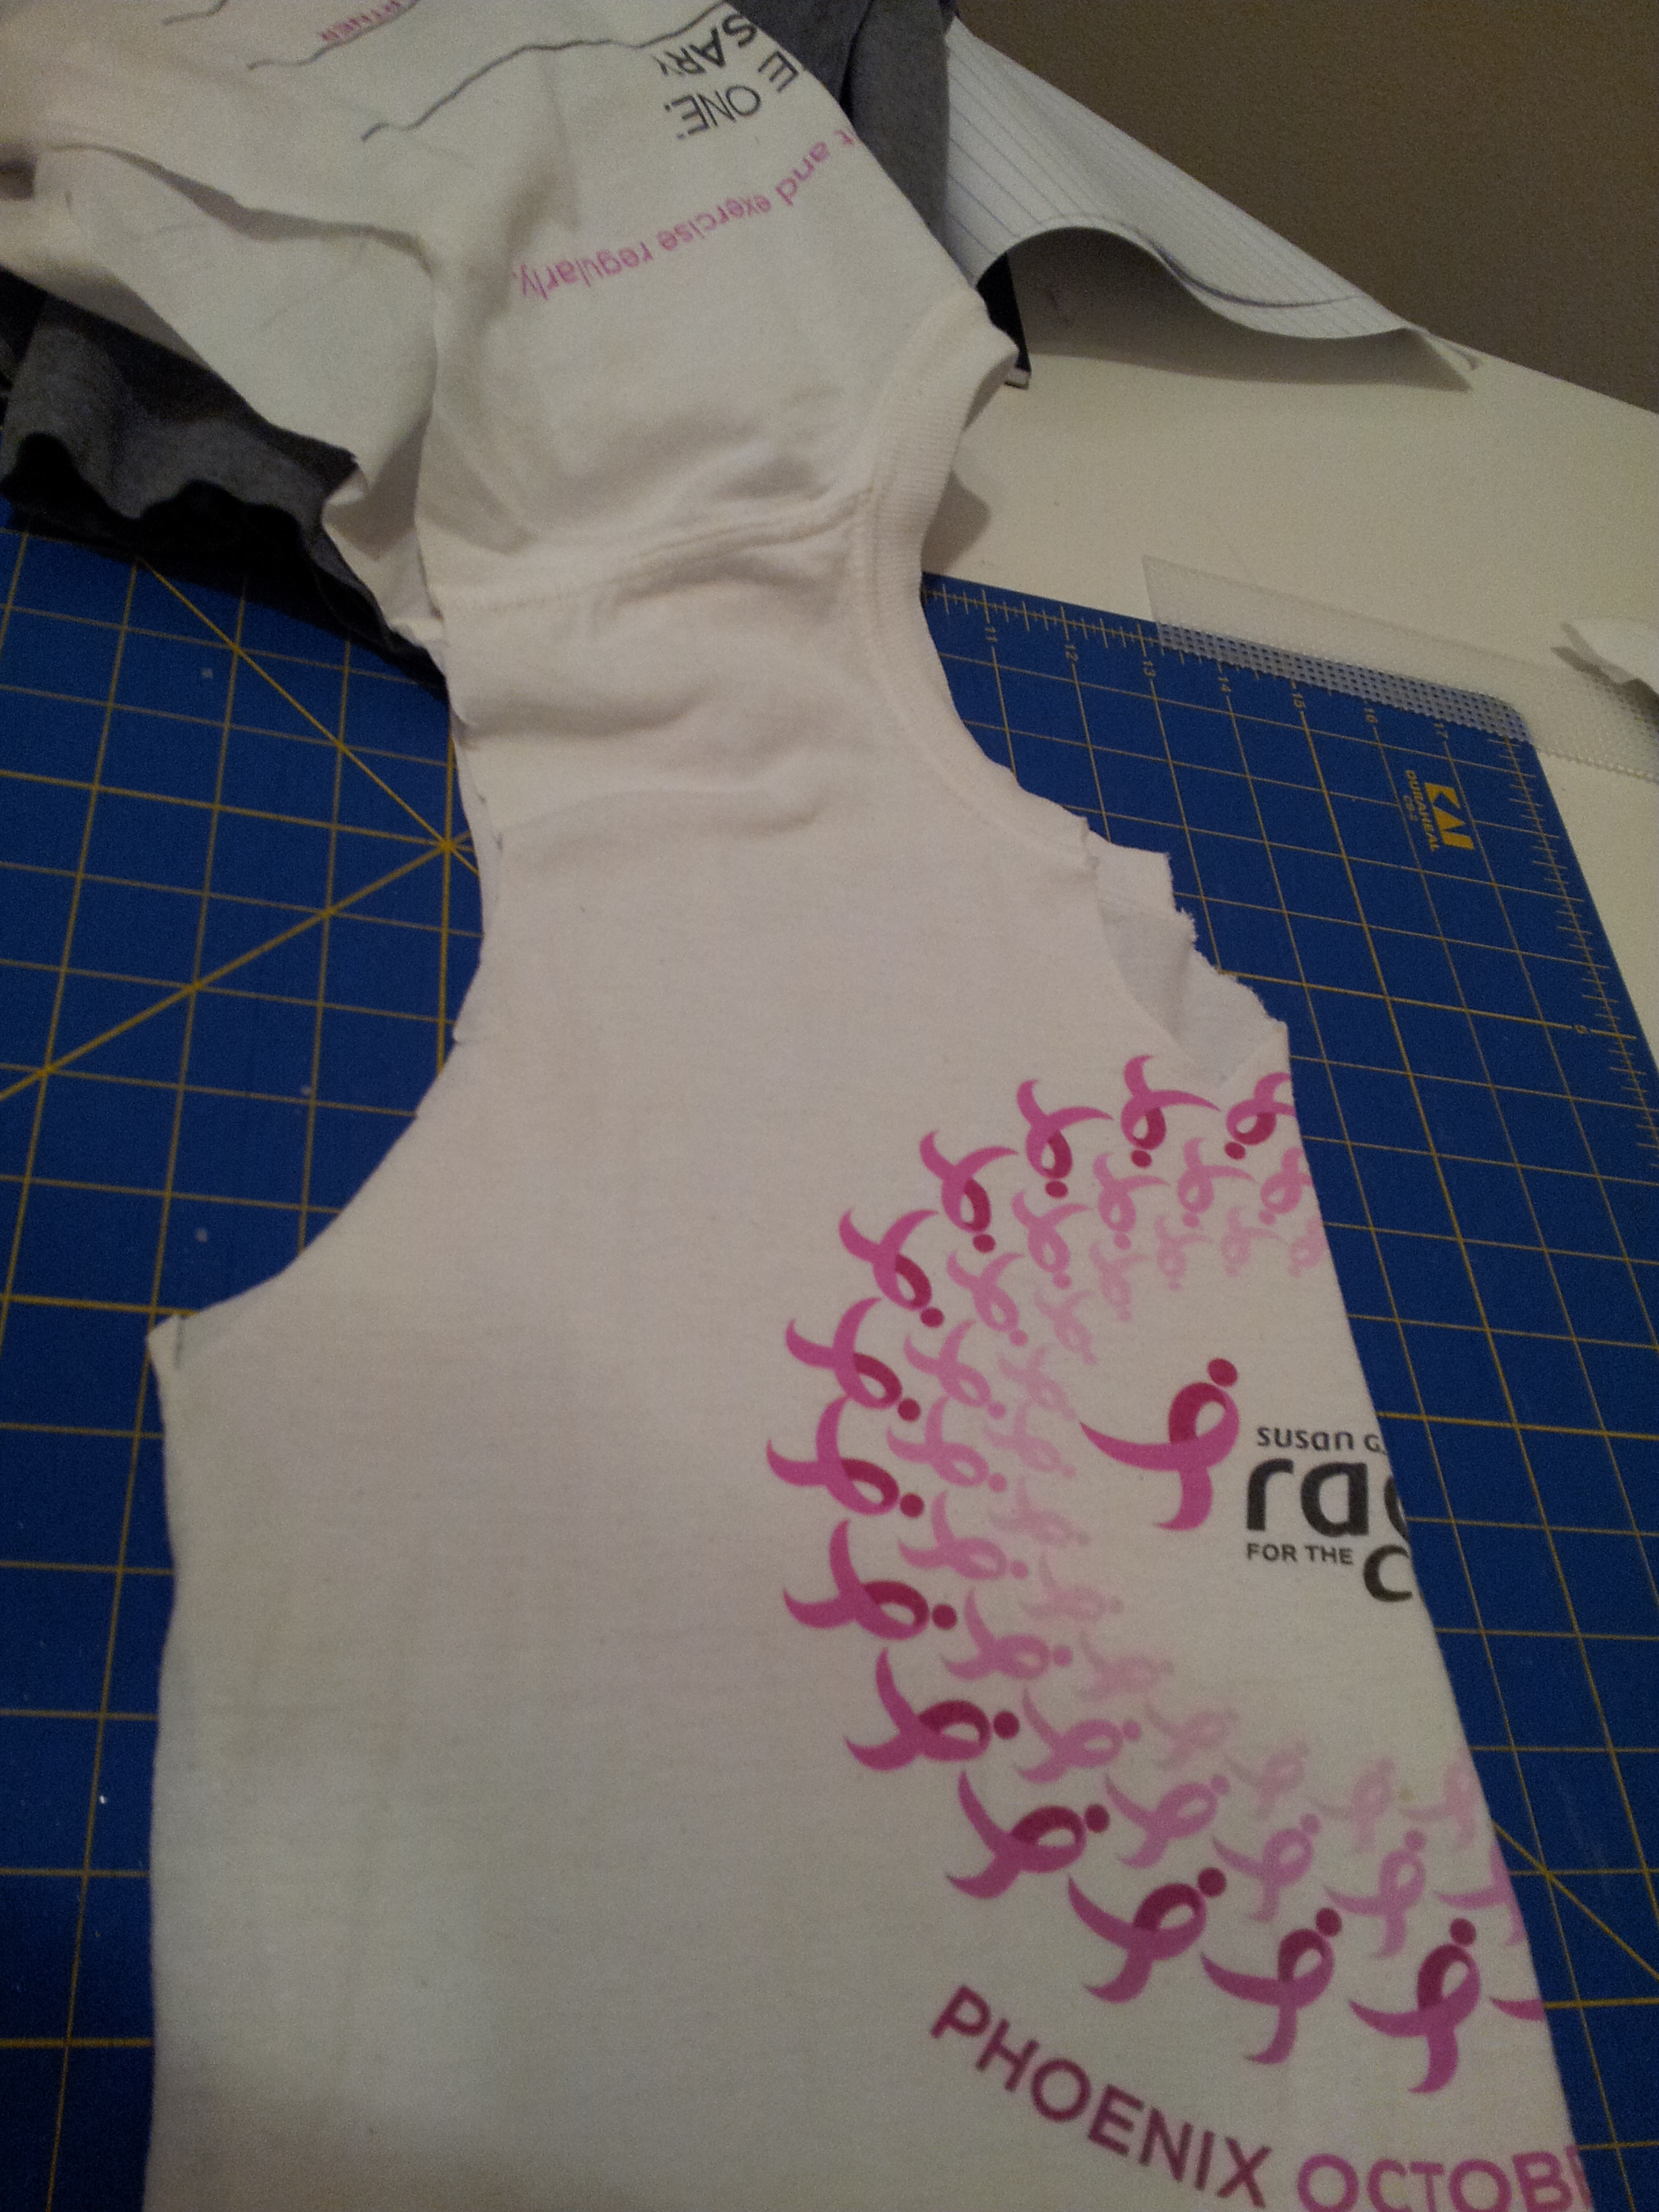
This rug project has also resulted in a reduction of the ratty towels in my linen cupboard, and a remarkably pared down closet. I’m sure the folks at “What Not To Wear” will be pleased that I broke down and cut up my “good” tee shirts for this project. (By good, I mean that they were over five years old, men’s style, unflattering and appropriate only for painting or sleeping in tents.) It was a surprisingly difficult decision to reinvent them into rugs. The floors look much better in these shirts than i ever did. Good call.

Image

Before

Image

After

One box has been completely emptied in the closet… and I created easy and attractive storage for quilt binding. I like to make extra binding to use in tote bags or for the next quilt. This allows me to bring a little of the previous quilts forward to the present project. Many of my quilts have pieced bindings which goes especially well with a a scrappy quilt.

I have finished quilting a queen sized quilt which has been living on my quilt frame for about a year… pictures when I get a bit further on the binding.

I have designed and completed a quilt top for an upcoming birthday. Here’s a sneak peek…Image

I have managed to get quilt top and back together with some batting for a baby quilt… it is now residing on the quilt frame and is 80% complete.  It goes with this adorable diaper tote which I have completed. The handle started as a belt purchased at Goodwill for $.69. The ribbon was purchased without realizing that each spool only contained about 12 inches worth of ribbon. I’m sure it was intended for scrapbooking.  Here’s how I made it work for me.ImageImageImage

I also finished 4 spools of thread, one queen sized package of quilt batting, 6 spools of ribbon and countless cups of coffee.

This has resulted in a noticeable difference in the closet.

Image

A Little Something out of the box….

This all started when I pulled one of my favorite tee shirts from the closet and realized that it was pretty well worn out.  Ratty. Pilled. Stretched. And yet, it remains one of my favorite shirts. So. I said to myself. “Self, you’re pretty clever and have the technology. Why don’t you take the shirts you never wear from the closet and remake them into the same style as your favorite?” Being the clever girl that I am, I answered myself “sounds like a brilliant idea.” And so, this project begins.

Since this blog is dedicated to the using up or giving away all of the fabric in my sewing closet, technically this inspiration was going to stay in my own personal smugfest and self-congratulatory thoughts. But it did get me started. Should I discover some talent for tutorials I will include a link to it here. But so far I’ve discovered I’m quite good at working things out but not that great and working out the steps to share with others.

Basically, using my fav shirt as a rough estimate of a pattern, I cut down the large, shapeless shirts into something that is a bit more fitted. I started with a couple of old and paint spattered shirts. That way there is no emotional attachment and therefore it is no big deal if the project goes tragically wrong.  A couple notes, if you decide to try this: Don’t forget seam allowances. Not all knits are created equal – check the stretch. If it doesn’t stretch as much as the original, leave a little extra room.

20130806_090517 20130806_090636 20130807_163906 20130807_16571420130807_17035720130806_09075920130807_172716

Ok, so you get the general idea. The new shape fits just like my favorite, making these shirts so much better than just painting shirts. Note for a deep v neck you will probably cut into the design. Glowing with the success of this project I decided to look into one of the “Wonder Boxes” in the closet. I discovered several things. Yes that is a big black hairy thing in there… Just a Halloween wig and witches hat. Phew20130810_061343I also discovered this….

20130810_094404

A substantial pile of tee-shirt fabric. Much of this is left over from a Tee Shirt quilt I made for my sister. Upon further investigation I discovered a couple of complete shirts. Really. Where does this stuff come from?

20130810_094530There were two shirts like this, one in green and this in black. Cute design… so of course I redid one of them. I’m not sure I need two shirts like this. 20130810_094621I’m really looking forward to wearing this now.

What to do with all of the rest of it….Then I thought of it. A new bathroom rug! I don’t actually have any latch hook canvas, but I do have the latch hook. A little internet investigation led me to this great tutorial. Note she says she wished she’d used a towel that matched? The towel will show in bits, so make sure you use a coordinating color. I didn’t see any reason to use a triple stitch, it’s slow to sew and really not essential. So I just used a straight stitch. I cut up all the scraps from the pile. The remains of the remodeled shirts and a couple extra ratty white undershirts. These pieces are cut roughly, you can use scissors if you want to sit in a cozy chair and watch a movie, or you can use your rotary cutter for a speedy cut. I did not use the straight edge – just eyed it and cut away. When it’s put together you’ll never know. The strips are around 4′ long – again, that’s rough. The tutorial instructions worked great.

20130811_08372320130811_151053

Voila! A squishy absorbent rug for the bath. I like it so well I think I will make some more.

There is a marked difference in the volume of stuff in the tub… while the closet almost looks like it’s got more in it. I must be fluffing up the stacks when I root around for the next project…. I’m sure that’s it.

20130811_180129 20130811_180209